
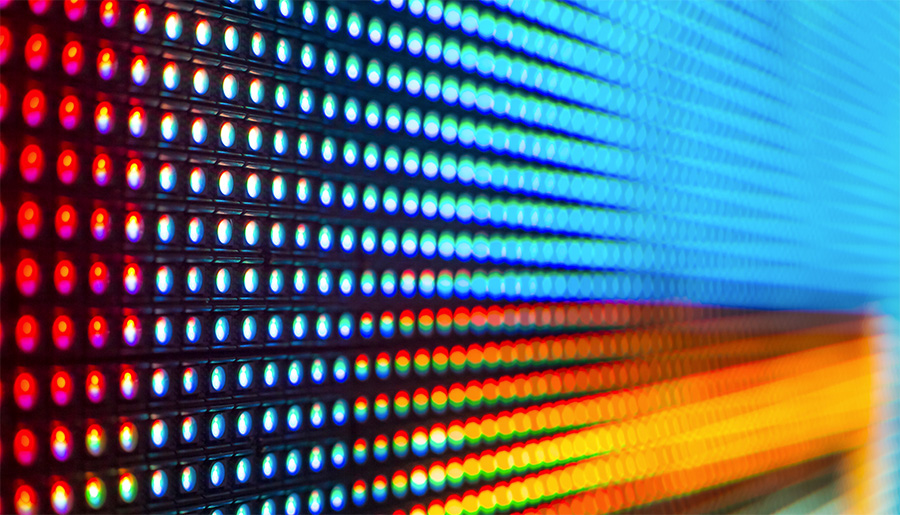
LED Display Systems: An overview for broadcasters
Weekly insights on the technology, production and business decisions shaping media and broadcast. Free to access. Independent coverage. Unsubscribe anytime.
So…you want your display systems to be truly seamless and get rid of those annoying seams you see on every broadcast using your monitor wall…
While it is true that new smaller mullion “seamless” monitors have recently been introduced (1.8mm seam total) by some manufacturers, if you do a cost comparative analysis you will find that a truly seamless LED display systems have come down in price enough that LED is typically LESS EXPENSIVE than a 1.8mm “seamless” monitor display wall.
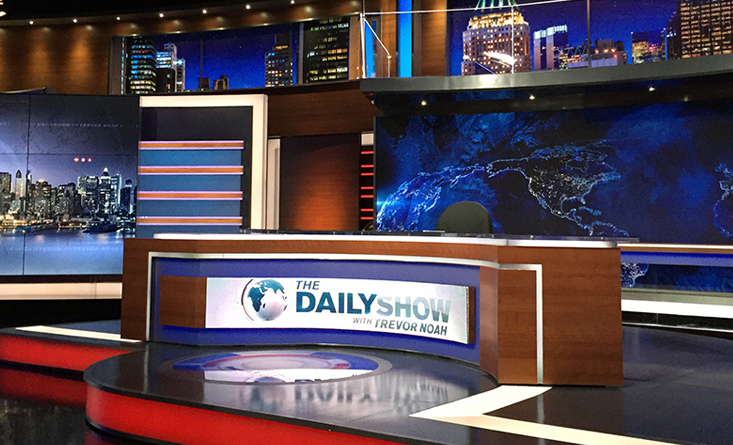
Today’s broadcast studio environment has transitioned from simple stationary static display imagery to a full, dynamic, content driven, treasure trove of visual capabilities that no other technology augments better than capability the latest LED display system technologies.
With a larger section of the broadcast audience viewing via non-traditional content delivery systems—desktop and increasingly mobile devices—these technologies allow a much more immersive experience with greater content details than ever before for both the viewer and the talent on camera.
National broadcasters, over the last five years, have begun the solid transition of their studio sets over to using LED display walls. Two of the main contributing factors enabling this transition are the versatility of LED display systems and, more importantly, the fact that the cost has lowered to a level that makes this technology much more affordable.
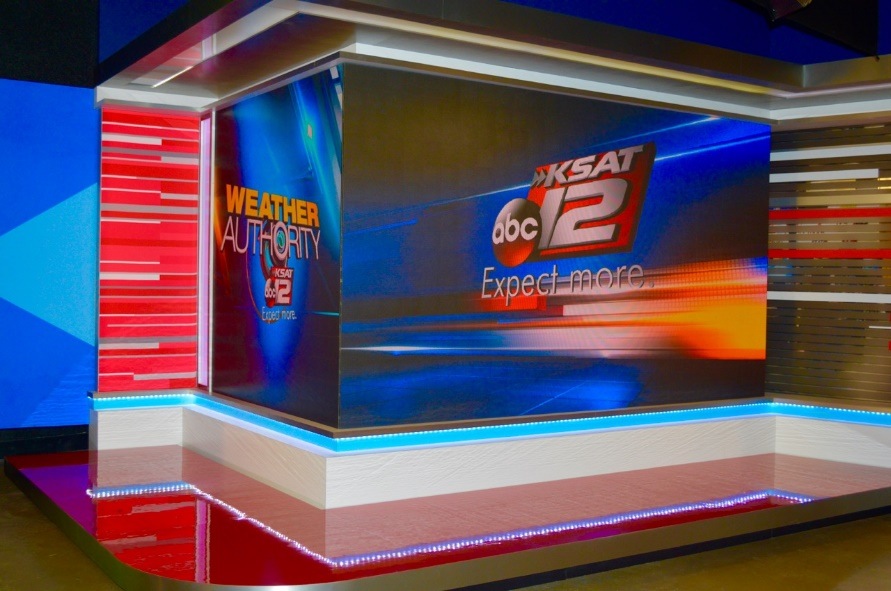
LED displays were traditionally used in studios as an accent to the overall video system design, such as a ticker or ribbon display. This transitioned over the past 18 months to these fine pixel pitch displays being used to replace large “seamless” monitor-based video walls allowing the main display system(s) to become a truly seamless focal point for the camera.
Today this trend is continuing with all of the national broadcasters and is beginning to transition into the local broadcast market where budgets have always been tight. New studios are using LED displays throughout their sets in multiple variations and configurations to fully enhance this new immersive video environment and without SEAMS…
Although the use of LED display technology is rapidly increasing, the understanding of this technology and how it can be utilized on your new set is still being learned by all. It is more involved than just hanging a display on a support and hooking a video signal up to it. During the studio set design phase many questions need to be asked and answered correctly, but more importantly the right questions need to be asked and the proper answers need to be given in order to choose the correct LED display technology options that are currently available.
In order to ask the correct questions, you have to understand what is available, what is behind the technology, and how it interfaces with the broadcast studio infrastructure both physically and electronically without diminishing the integrity of the desired set design.
LED display systems are designed with 4 main system components:
- Tile/Cabinet size and type (form factor)
- Digitizer/Processing (how the video signals reach the display and are distributed)
- Power supply
- Support Structure (how the LED display system is integrated and supported into the set design)
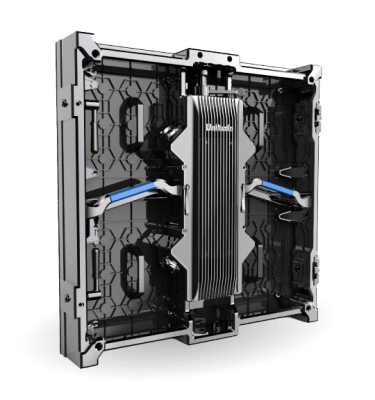
Tile/Cabinet
The tile or cabinet is usually the largest active component of an LED display. The tile visualizes to the camera the picture content via the LEDs mounted in each cabinet. The tile is usually broken down into several smaller parts called modules (usually 4 or more), which are the smallest replaceable subpart. These modules are broken down even further into individual LEDs, which can be individually replaced on some tiles, but this is not ideal within the studio environment. The LED display tile component parts are made in a variety of shapes, sizes and pixel pitch. The size is the minimum-sized building block for an LED wall. The smaller the size, the more variations the building block that design can have.
The right pixel pitch (how close each pixel is to the next pixel) to use is governed by the overall desired look of the content and how it will be “shot” with the camera. Pixel pitches range today from approximately 1mm to more than 10mm; the wider pixel pitch is used more as an LED ‘curtain’ usually shown behind a diffuser screen for visual effects or general background views and not close images. A good rule of thumb is that the narrower the pitch, the higher the cost. However, a narrower pitch doesn’t necessarily make for a better-looking picture. Remember, the black level of the overall video is mostly represented by the LED display black masking. The more space between pixels usually gives the visual feel of an image with more contrast.
The overall picture quality desired with the intended content is just as important as how you are planning to shoot this content with the camera. The closer the camera focus to the talent and the closer the talent is going to be to the LED display system…a tighter the pixel pitch is typically necessary. This pitch will dictate not just the image detail but will move the focal point where the moiré effect either appears or disappears in the image on camera. Every LED display has a focal point where this moiré’ will appear; the goal here is to make sure you pick the right LED display so you never have a moiré’ issue on camera. Set budgets typically are the limiting factor here, and LED display systems pixel pitch costs sometimes dictate how the LED display will be shot with the camera versus the other way around.
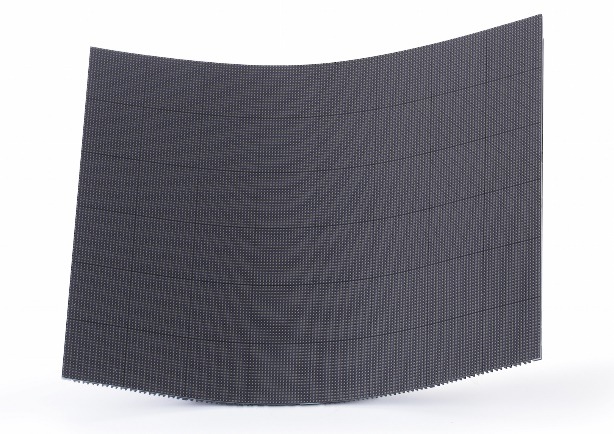
The tiles come in two styles, fixed flat shape or flexible variable type:
Fixed shape LED panels typically for flat display area…some are designed to be able to slightly curved (primarily concave, angled on the seams), or at 90⁰ angles to produce a corner display, which offers an active video corner transition within a studio design.
The flexible come in two styles differentiated by each manufacturer: an integrated fixed flexed tile with a flexible module and flex types with a highly flexible module and discrete sub-components:
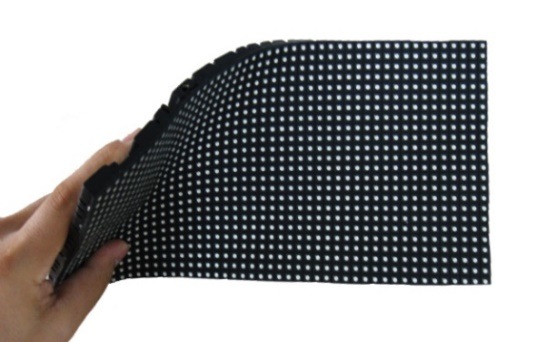
The integrated fixed tile has a fixed-tile backing with tile interlocking mechanisms and integrated power supply and other supporting components, allowing a small selectable curve ratio within the module of either concave or convex available across one axis per tile. The flex discreet types offer a very flexible module, allowing highly variable concave or convex curves both horizontally and vertically within a single module, which makes it attractive for a much wider array of uses. The flexible module uses discrete sub-components to allow for small area installations and easier servicing.

One such application use of the flexible module is a talent desk, which is most often designed with a camera side concave curve incorporated. It allows for a smooth, seamless appearance that can be highly customized, which makes for more design options for set designers.
The fixed tile usually requires a rigid mounting structure which helps minimize studio fabrication designs and costs. The flex style uses a lightweight metal structure where the tile attaches to the structure magnetically, allowing more design variety but usually requiring extra set fabrication for overall installation support.
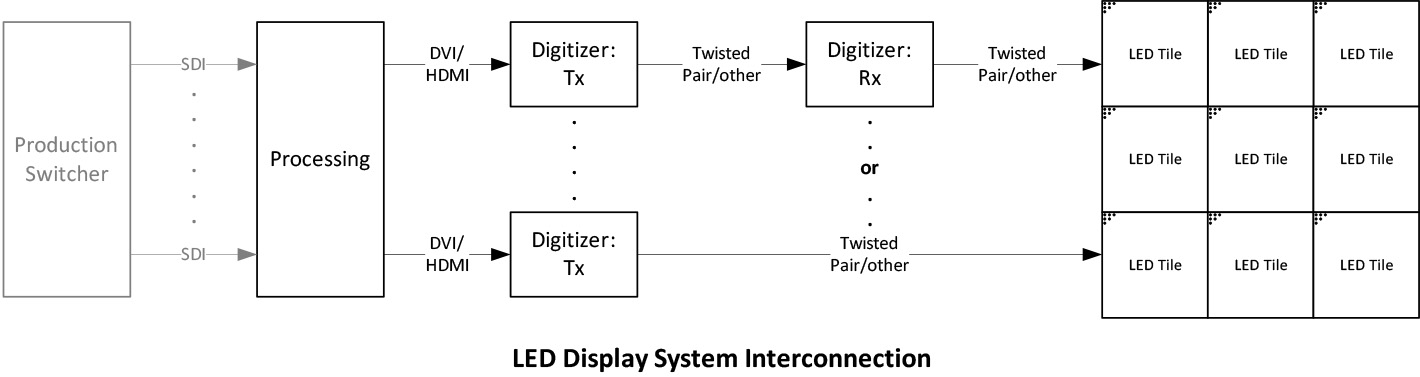
Digitizer
The digitizer is broken down into two sub-components; the transmitter and the receiver:
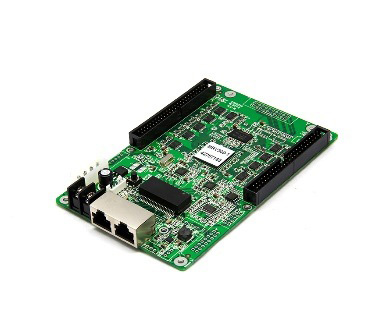

The transmitter (front end) accepts the overall LED display’s video signal either directly from the studio’s production control room or from a processor placed in the signal path between the control room and the digitizer. This processor is used to segment or tile the video signal into smaller components prior to the digitizer process and sometimes has added features that enhance the content with conversion, switching, windowing and transitional effects between content, as well as color correction. The digitizer breaks down the video signal into smaller content segments usually equaling the tile size pixel count granularity or a few tiles’ combined pixel count.
The digitizer transmits this information to the LED tiles and is received by the receiver side of the digitizer. This signal is interfaced between the digitizer and tiles, either over a proprietary connector or an RJ-45 physical connector using a proprietary signal type. These types of connectors make it easier to manage the signal flow throughout the entire LED display wall, which can sometimes get rather large. The signal flow is usually daisy-chained to some degree when one digitizer is driving the signal for several tiles. The tiles then take their portion of the signal and display only their unique segment. Because of this daisy-chain signal delivery, several manufacturers offer redundant signal connectivity. This gives added protection by not losing the entire wall segment due to a failed tile/module or digitizer component.
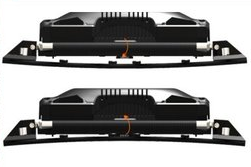
Power Supply
One often-overlooked but very important component is the power supply. Power supplies for LED displays are offered in two different styles: tile-integrated or external. Oftentimes, instead of this being an open option, the power supply type is determined by the tile manufacturer, style and or size. Internal power supplies offer simpler cabling, but external offer quicker and easier replacement. Several manufactures also offer redundant power supply options, which can significantly add to the overall cost and, much of the time, are not necessary.
With many manufacturers offering parallel power interconnections within their wiring schemes, one failed power supply only affects an individual tile or a few tiles in the overall application. These power supplies are usually easy to access and are replaceable within minutes without removing the tile from the display wall. Most power supplies require 208-240VAC single phase power; some can operate on standard 110-120VAC. The higher voltage option is usually used to lower the current requirements for the LED display and require fewer power circuits to operate.
Support Structure
Tile types also vary in how they can be mounted or supported within the studio. This includes displays that are floor supported, hung, embedded and magnetically surface mounted.
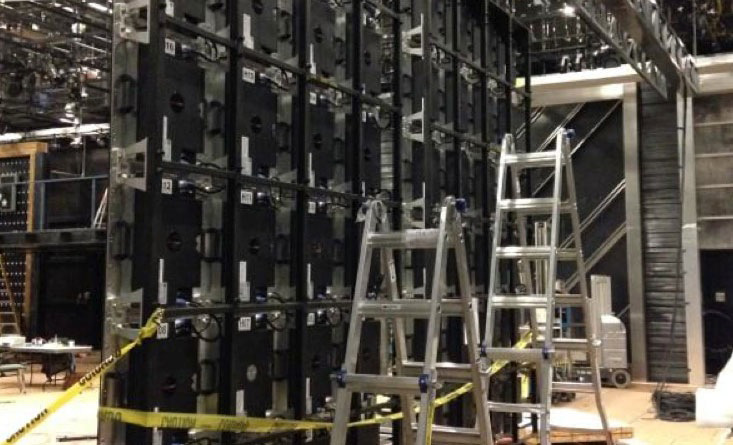
Each of these tile types and physical mounting options have their own unique physical signatures, but all have to be able to adapt to the physical constraints of the studio design and merge the tile into the environment at hand while maintaining the design integrity and not destroying the project’s budget.
Conclusion
This high-level overview of LED display systems for broadcast studio set use illustrates that for today’s highly competitive and demanding broadcast environment once unobtainable LED display systems have begun to become the main design choice for studio set displays.
The decisions of what to use, where and how should be made with an experienced LED display design professional consulted from the very beginning of the design process through the completed installation and use of the LED display system.
AV Design Services has more experience with broadcast LED set design and integration than any other broadcast systems integrator. We would be pleased to check your set AV tech system design at no charge and to value engineer your new or existing design. We have relationships with the best set designers, set fabricators and set lighting firms available today and would be pleased to recommend these professionals to you.
For more information on AV Design Services, visit avds.tv or call (609) 531-2642.
The above column is sponsor-generated content from AV Design Services. To learn more about sponsor-generated content, click here.

tags
AV Design Services, led wall
categories
Partner Content